今まで、公式が出しているスターターアセットでFPSプレイヤーを作っていましたが、「なんだか自分の可能性をつぶしているのではないか…」
なんて思ったりしていたので自作でFPS用のプレイヤーを作る方法をいろいろ調べていき、何とか作れるようになったのでその方法を記述したいと思います。
今回の記事では、「FPSカメラ」と「プレイヤーの基本的な動き」を紹介します。
準備
プレイヤーとなるオブジェクトとその他の細かなものを用意していきます。
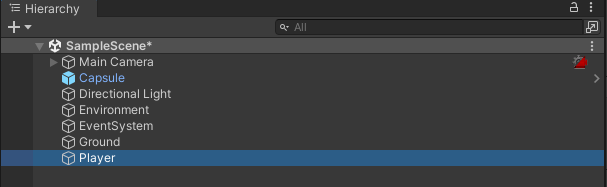
まずは、プレイヤーのいろんな要素を入れるための空のオブジェクトを作ります。
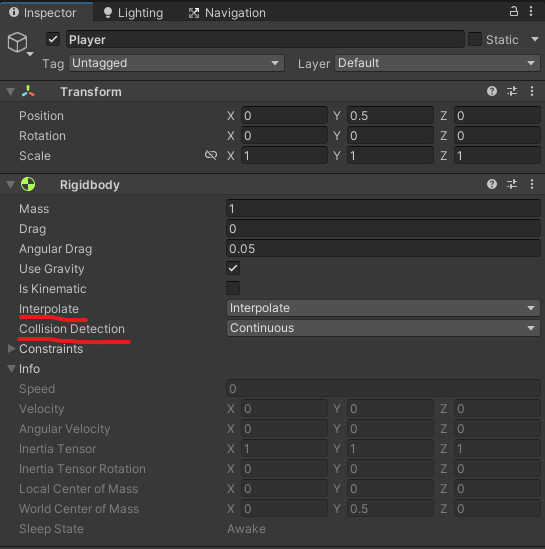
そうしたら、そのオブジェクトに「Rigidbody」コンポーネントを追加し、プレイヤーのあたり判定の向上のために「Interpolate」を「Interpolate」に、「Collision Detection」を「Continuous」にします。
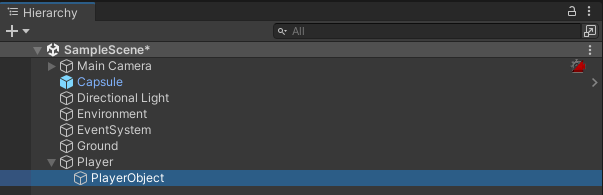
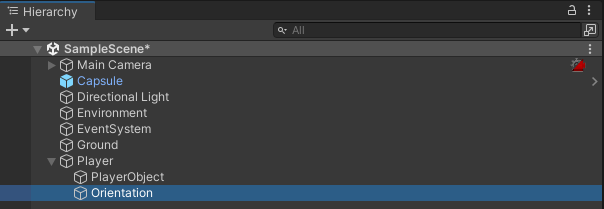
次に、プレイヤーの大事な要素となる空のオブジェクトを三つ用意します。
一つ目は、プレイヤーオブジェクト(自分の場合はCapsule)を先ほどの空のオブジェクトの子オブジェクトとして作ります。
二つ目は、プレイヤーの向いている方向を知るための空のオブジェクトを一つ子オブジェクトとして作ります。
最後に、カメラの位置となる空のオブジェクトを作ります。
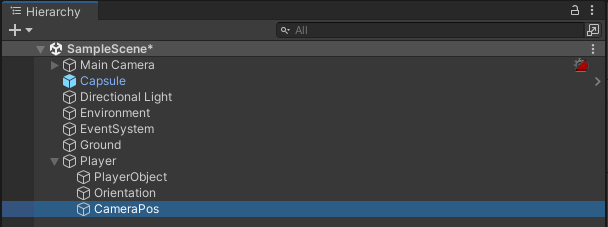
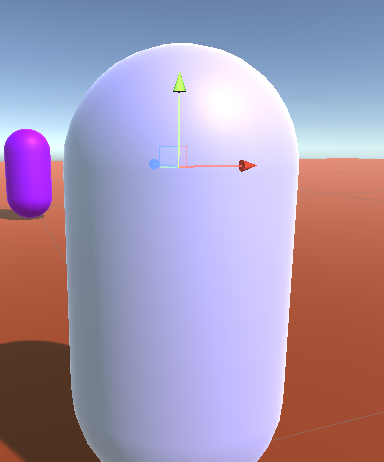
位置をプレイヤーの頭あたりに持っていきます。
次にプレイヤーとは別にカメラ用に空のオブジェクトを用意します。
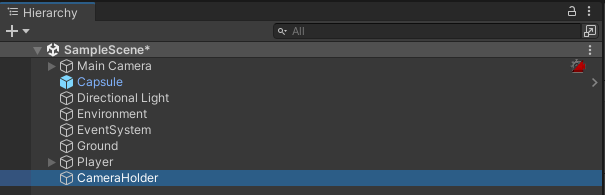
その中に「Main camera」を入れましょう。

「Main Camera」を子オブジェクトにしたら「Position」をすべて「0」にしておきます。

ポイント:カメラをプレイヤーの中に入れずに別の空のオブジェクトに入れているのは、コライダーを持っているオブジェクトの中に入れてしまうとカメラがおかしな挙動をしてしまうかららしい…
次に、地面と接しているのかを判断するために地面となるオブジェクトにレイヤーを設定します。
インスペクター右上のLayerのDefault>Add layerをクリックします。
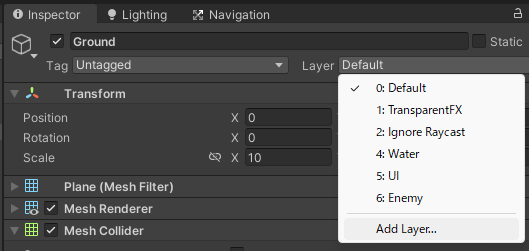
どこか空白になっているところに「Ground」と、新しいレイヤーを作ります。
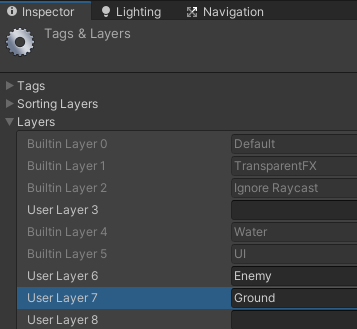
そうしたら地面となるオブジェクトに先ほど作ったレイヤーを設定します。

これで準備は完了です。
カメラを動かせるようにしよう
それでは、マウスでカメラを動かせるようにしましょう。
まずは、カメラをプレイヤーの頭の位置に固定したいのでこのスクリプトを「Main Camera」の親オブジェクトにアタッチします。
using System.Collections;
using System.Collections.Generic;
using UnityEngine;

public class CameraPos : MonoBehaviour
{
    public Transform cameraPos;


    void Update()
    {
        transform.position = cameraPos.position;
    }
}
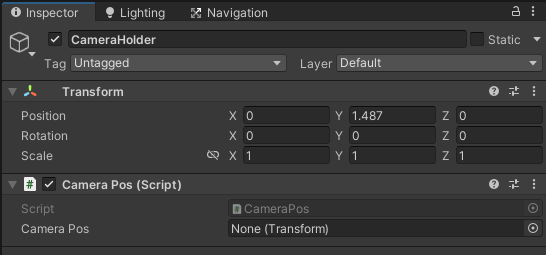
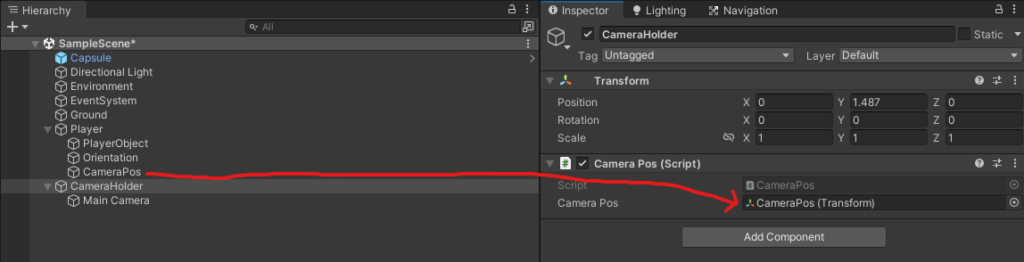
「Camera Pos」の中にプレイヤーで作ったカメラの位置となる子オブジェクトを入れます。
次に、カメラを動かすこのスクリプトを「Main Camera」にアタッチします。
using System.Collections;
using System.Collections.Generic;
using UnityEngine;

public class PlayerCam : MonoBehaviour
{
    public float sensX;
    public float sensY;

    public Transform orientation;
    public Transform CamHolder;

    float xRotation;
    float yRotation;

    void Start()
    {
    //マウスポインターを真ん中に固定し見えなくする
        Cursor.lockState = CursorLockMode.Locked;
        Cursor.visible = false;
    }

    // Update is called once per frame
    void Update()
    {
        //マウスの入力を取得
        float mouseX = Input.GetAxisRaw("Mouse X") * Time.deltaTime * sensX;
        float mouseY = Input.GetAxisRaw("Mouse Y") * Time.deltaTime * sensY;

        yRotation += mouseX;

        xRotation -= mouseY;

    //Y軸だけ視点に上限を設ける
        xRotation = Mathf.Clamp(xRotation, -90, 90);

        //カメラとプレイヤーの向きを動かす
        CamHolder.rotation = Quaternion.Euler(xRotation, yRotation, 0);
        orientation.rotation = Quaternion.Euler(0, yRotation, 0);
    }
}
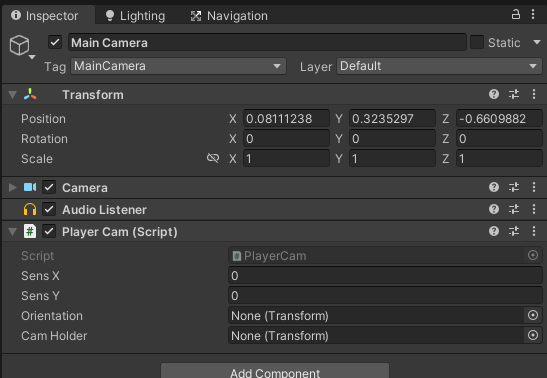
「Orientation」にはプレイヤーの中にあるプレイヤーの向いている方向がわかるオブジェクトを、「cam Holder」には「Main camera」を入れた親オブジェクトをいれます。
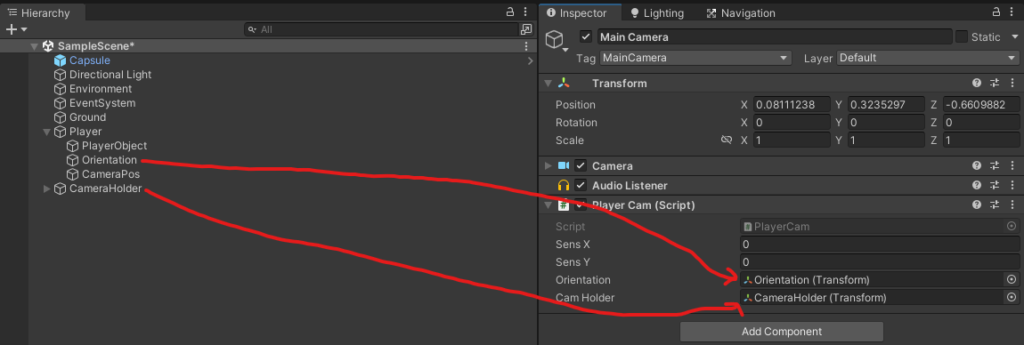
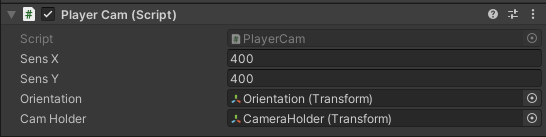
そして「sensX」と「sensY」はカメラの感度のようなものになります。
適当に両方とも「400」にします。
これで実行してみましょう。
FPSカメラが出来上がりました!
プレイヤーが動くようにしよう
それでは、プレイヤーが動けるようにしましょう。
このスクリプトをプレイヤーにアタッチしましょう。
using System.Collections;
using System.Collections.Generic;
using UnityEngine;

public class PlayerMovement : MonoBehaviour
{
    public float moveSpeed;
    public float groundDrag;

    public float playerheight;
    public LayerMask Ground;
    bool grounded;

    public Transform orientation;

    float HorizontalInput;
    float VerticalInput;

    Vector3 moveDirection;

    Rigidbody rb;


    void Start()
    {
        rb = GetComponent<Rigidbody>();
        rb.freezeRotation = true;
    }


    void Update()
    {
        //地面と接しているかを判断
        grounded = Physics.Raycast(transform.position, Vector3.down, playerheight * 0.5f + 0.2f, Ground);

        //接している場合は、設定した減速値を代入しプレイヤーを滑りにくくする
        if (grounded)
            rb.drag = groundDrag;
        else
            rb.drag = 0;

        ProcessInput();
        SpeedControl();
    }


    private void FixedUpdate()
    {
        movePlayer();
    }


    private void ProcessInput()
    {
        //入力を取得
        HorizontalInput = Input.GetAxisRaw("Horizontal");
        VerticalInput = Input.GetAxisRaw("Vertical");
    }


    private void movePlayer()
    {
        //向いている方向に進む
        moveDirection = orientation.forward * VerticalInput + orientation.right * HorizontalInput;
        rb.AddForce(moveDirection.normalized * moveSpeed * 10f, ForceMode.Force);
    }


    private void SpeedControl()
    {
        //プレイヤーのスピードを制限
        Vector3 flatVel = new Vector3(rb.velocity.x, 0, rb.velocity.z);

        if (flatVel.magnitude > moveSpeed)
        {
            Vector3 limitedVel = flatVel.normalized * moveSpeed;
            rb.velocity = new Vector3(limitedVel.x, rb.velocity.y, limitedVel.z);
        }
    }
}
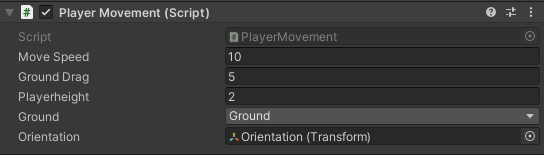
このようになっていますね。
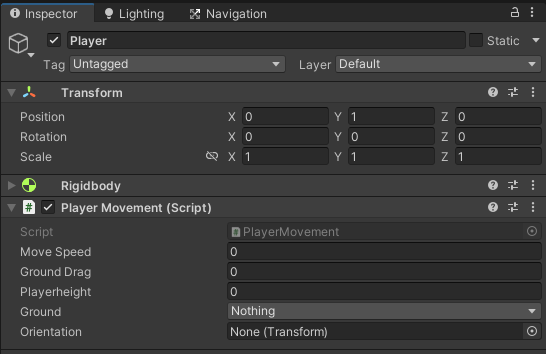
値をとりあえずこのように設定しましょう。
Move Speed:プレイヤーの動くスピード
Ground Drag:地面に接しているときの減速する度合い ←これないとプレイヤが滑っているような挙動になる
Playerheight:プレイヤーの高さ
Ground:最初の方で作った地面を識別するためのレイヤーを入れよう
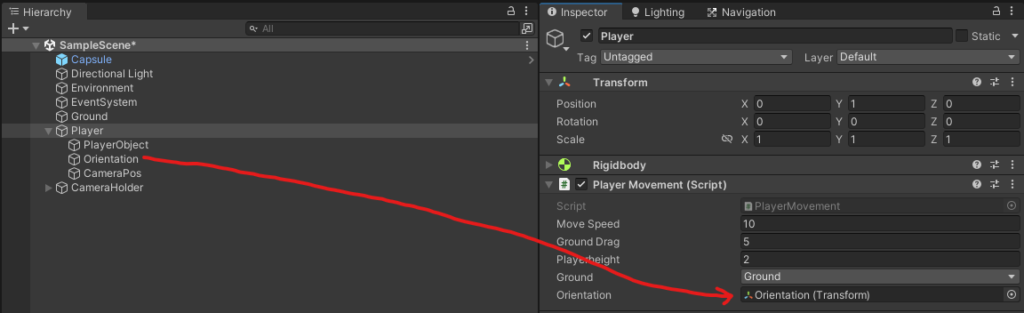
Orientation:プレイヤーの中にある向いている方向を知るための空のオブジェクトを入れる
これで実行してみますと
プレイヤーが動くようになりました!
まとめ
スターターアセットを使わずに自分でFPS用のプレイヤースクリプトを使うことでいろいろいじくれそうな気がしたので、ジャンプやしゃがみといったモーションも追加していきたいと思います。

コメント