
アクションゲームでは欠かせないコンボ攻撃。
「自分のゲームにも実装したい!」
と最近思い、いろいろ調べて何とかできるようになったのでその方法を紹介したいと思います。
自分はFPS用のプレイヤーを使用しますがこのコンボ攻撃はTPSゲームでも実装できますので安心してください。
準備
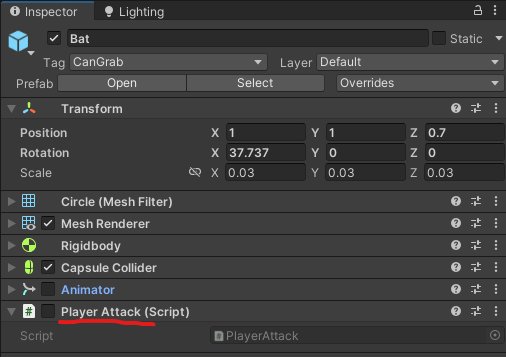
まずは、Animatorコンポーネントがついているオブジェクトを用意します。
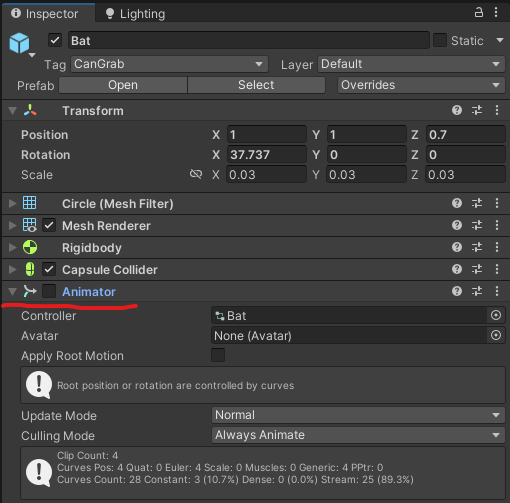
そうしたら、そのオブジェクトでアニメーションをいくつか用意しておきましょう。
自分はバットでアニメーションを作りました。
準備は完了。
早速作業に取り掛かっていきましょう。
Animatorでトランジションを作る
それでは、Animatorへ移動しましょう。
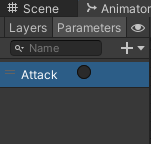
まずは、「parameters」でトリガーを用意します。
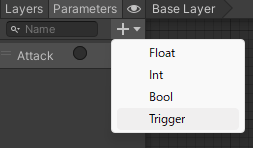
名前を「Attack」とします。
用意してあれば、デフォルトステートにアイドルアニメーションを入れておきましょう。
左クリックをして「Create Sub-State machine」を選択します。
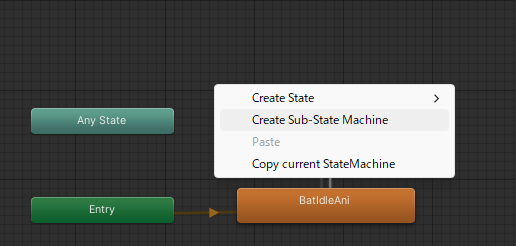
これでサブステートマシーンができますので名前を変えときます。
そうしたら、デフォルトステートとさっき作ったサブステートマシーン間でトランジションを設定します。
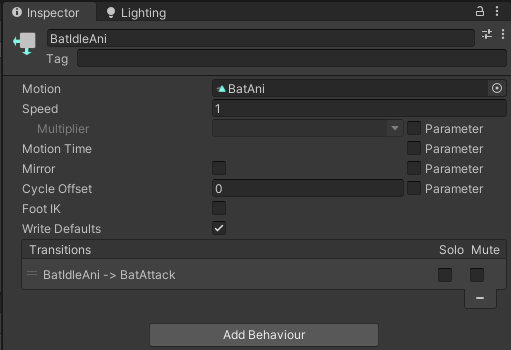
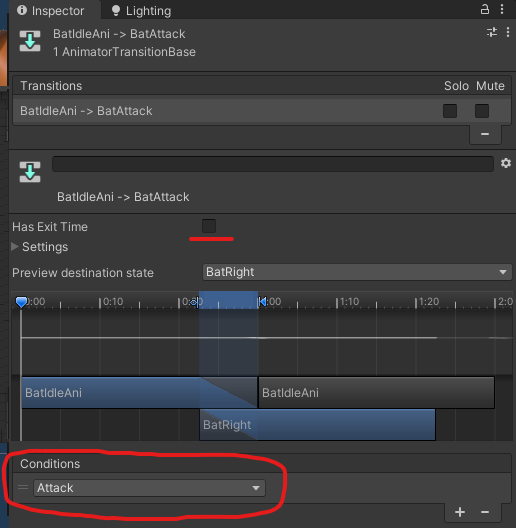
アイドル → サブステートマシーンの矢印をクリックし次のように設定します。
「Has Exit Time」のチェックを外し、右下の「+」でAttackトリガーを追加します。
サブステートマシーン → アイドルの矢印は何もしなくても大丈夫です。
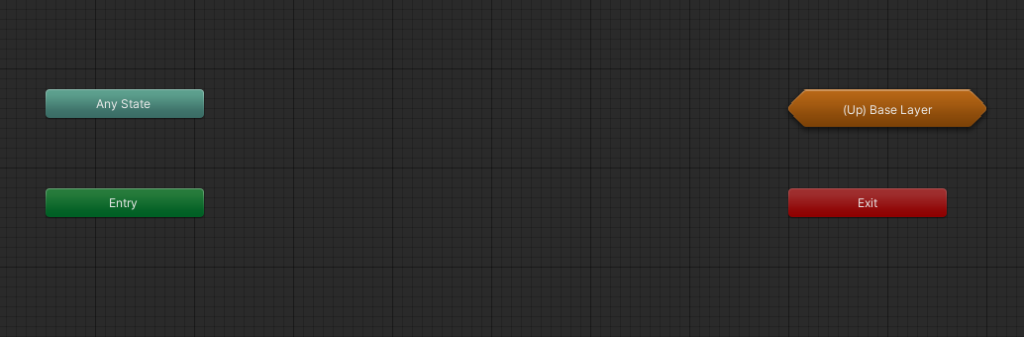
では、サブステートマシーンをダブルクリックして開きましょう。
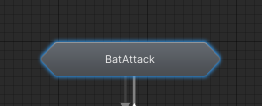
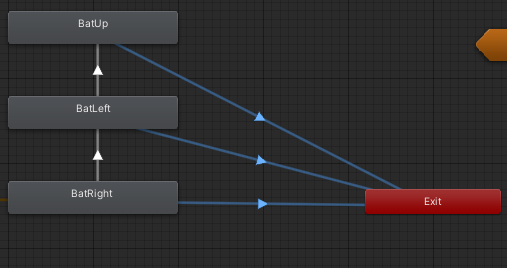
開いたら、用意した攻撃文ステートを作ります。
ステートは右クリック>Create State>Emptyで作ります。
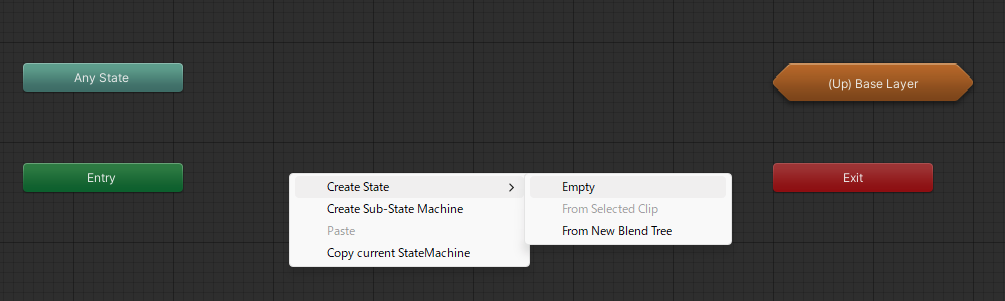
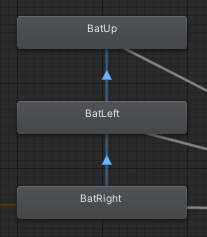
作れたらこんな感じでトランジション(矢印)をつなげます。
攻撃間の矢印をクリックし、ConditionsにAttackトリガーを追加します。
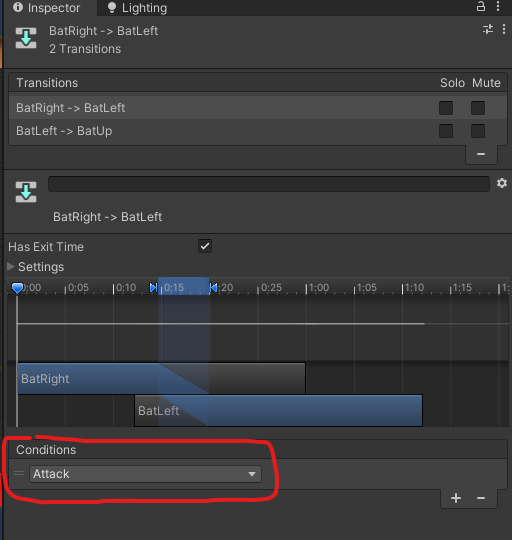
トランジションはこれでOKです。
次の攻撃を受け付けるためのタイミングを調節します。
トランジションの開始ポイントまでが次の攻撃の受付時間になります。
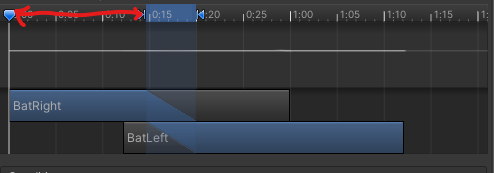
なので攻撃が終わったころぐらいにまで持っていきます。
短すぎると入力が難しくなりますので注意しましょう。
攻撃と「Exit」間の矢印は何もしなくてもいいです。
これでAnimatorでの作業は終わりです。
次にスクリプトに移りましょう。
攻撃をさせるスクリプト
using System.Collections;
using System.Collections.Generic;
using UnityEngine;

public class PlayerAttack : MonoBehaviour
{

    Animator animator;

    void Start()
    {
        animator = GetComponent<Animator>();
    }


    void Update()
    {
        if (Input.GetMouseButtonDown(0))
        {
            animator.SetTrigger("Attack");
        }
    }
}
このスクリプトでは、左クリックでAnimatorで作ったAttackトリガーをオンにして攻撃アニメーションを開始させています。
このスクリプトをAnimatorコンポーネントがついているオブジェクトにアタッチしましょう。
これで実行をしてみましょう。
このようにコンボ攻撃ができますし、途中で攻撃を止めることもできます!
まとめ
まだまだ、自分は入力受付時間の調整をしないとだなと思っています。
参考にした動画↓

コメント