今回は、プレイヤーにダッシュを実装する方法を記述していこうと思います。
スクリプト
using System.Collections;
using System.Collections.Generic;
using UnityEngine;

public class PlayerDash : MonoBehaviour
{
    [SerializeField] float dashingForce;
    [SerializeField] float dashingTime;
    [SerializeField] float dashCoolDown;

    bool isDashing = false;
    bool canDash = true;

    Rigidbody2D rb;

    void Start()
    {
        rb = GetComponent<Rigidbody2D>();
    }

    void Update()
    {
        if (Input.GetMouseButtonDown(1) && canDash)
        {
           StartCoroutine(Dash());//ダッシュのコルーチン開始
        }

        if (isDashing)//ダッシュ中なら何もしない
            return;
    }

    //ダッシュ
    private IEnumerator Dash()
    {
        isDashing = true;
        canDash = false;

        float originalGravity = rb.gravityScale;//元の重力を代入
        rb.gravityScale = 0;
        rb.velocity = new Vector2(transform.localScale.x * dashingForce, 0);//重力がない状態で向いてる方向にダッシュ

        yield return new WaitForSeconds(dashingTime);

        rb.gravityScale = originalGravity;//重力をもとに戻す
        isDashing = false;
        rb.velocity = new Vector2(0, 0);//速度を0にする

        yield return new WaitForSeconds(dashCoolDown);

        canDash = true;
    }
}
これで右クリックでダッシュをすることができます。
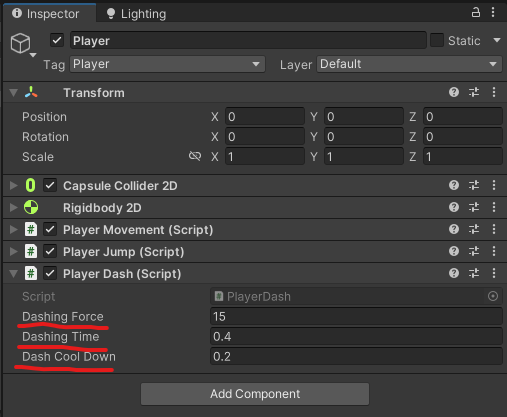
このスクリプトをプレイヤーにアタッチし、それぞれの項目を入力します。

Dashing Force: ダッシュ時にプレイヤーに加える力
Dashing Time:ダッシュの持続時間
Dash Cool Down:ダッシュのクールダウン
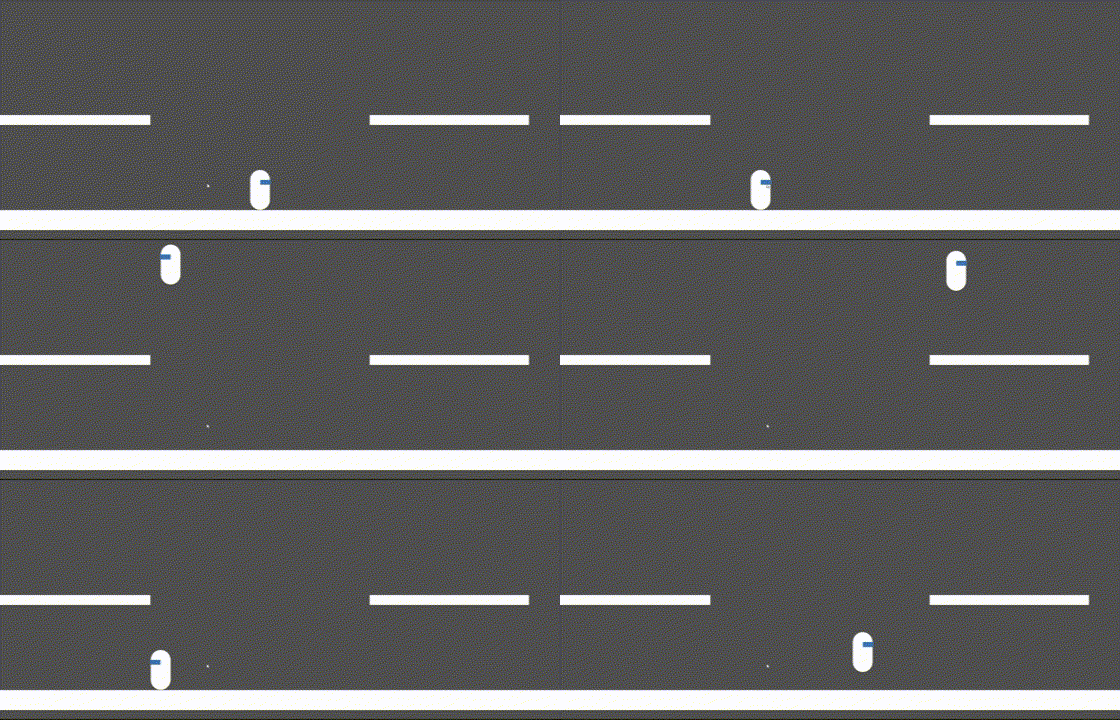
これで実行をすると
ダッシュの完成です!
まとめ
今回は、簡単な記事になってしまいましたねw
スクリプトの内容は簡単で、プレイヤーの重力をゼロにし、そこに速度(Velocity)を加えるだけです。
それをコルーチンで持続時間やクールダウンを制御してるわけです。


