今回は、Sliderを使ってHPバーの作り方を記述していきます。
HPバーの用意
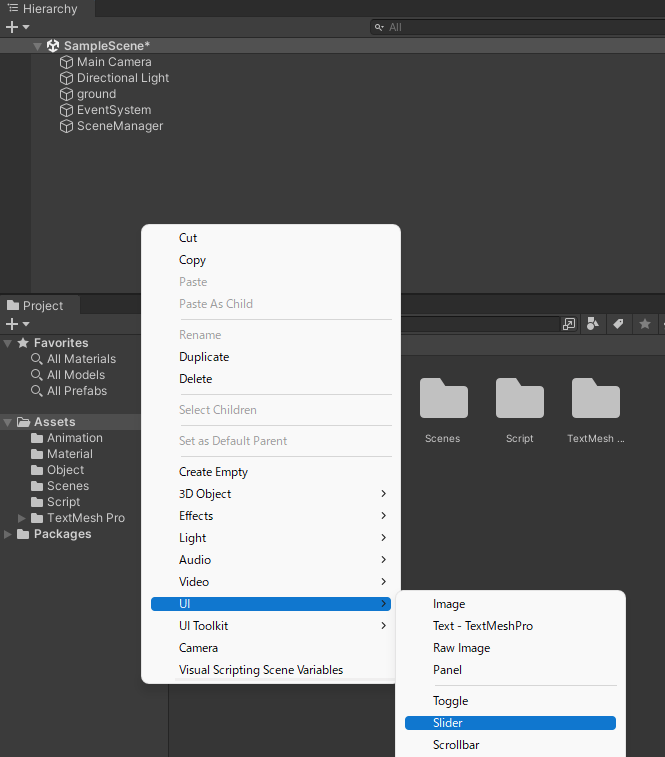
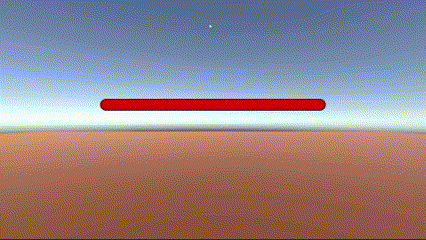
ヒエラルキーでUI>Sliderをしてスライダーを出します。
↓
設定は任意ですが僕の場合は、Canvasで「Screen Space – Overlay」から「World Space」に変えてHPバーをワールド座標に対応させてます。
皆さんの作るゲームに合うように設定をしてもらっても構いません。
ワールド座標に対応させる場合はScaleで大きさを調節しておきましょう。
次に、Sliderの子オブジェクトで「Handle Slide Area」があります。
これは不要なので削除してください。
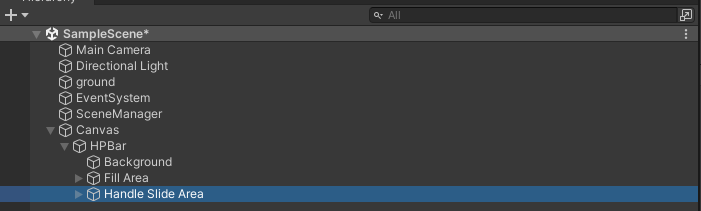
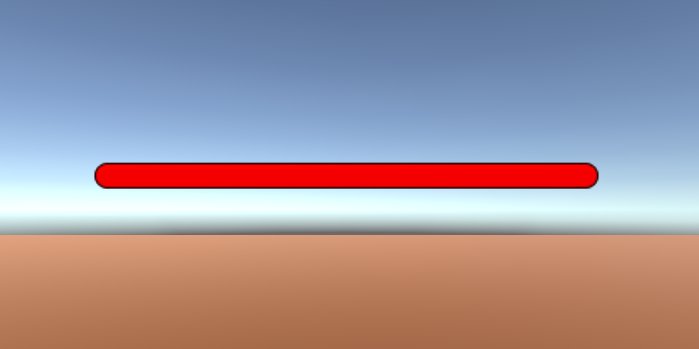
Fill Areaの子オブジェクトのFillでバーの色を変更できるので好きな色にします。
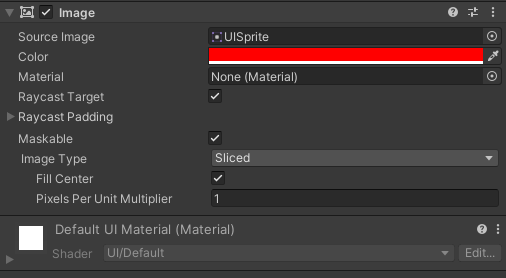
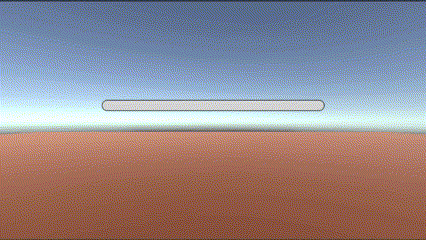
SliderのSliderコンポーネントの中にあるValueを動かしてみましょう。
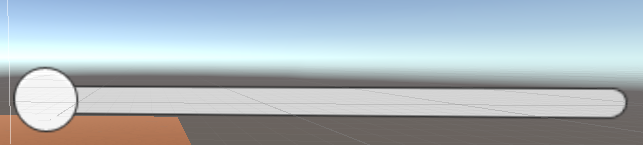
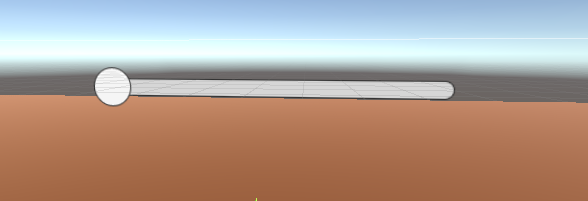
謎の隙間とHPの余りがありますね。
この問題を解決しましょう。
Fill AreaのRect Transformの「Left」と「Right」を「0」にします。

次に、Fill Areaの子オブジェクトのFillのRect Transformにある「Width」を「0」にします。
注意:Valueを「0」にした状態でないと「Width」が出ませんので「0」にしておいてからやりましょう。
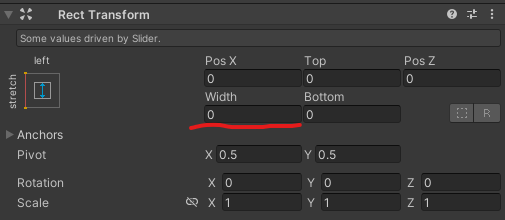
これで、謎の隙間とHPの余りの問題が解決します。
これで準備完了です。
スクリプトで減るようにする
このスクリプトを書きましょう。
using System.Collections;
using System.Collections.Generic;
using UnityEngine;
using UnityEngine.UI;

public class HPBarScript : MonoBehaviour
{
    float HP = 10;
    public Slider healthBar;

    // Start is called before the first frame update
    void Start()
    {

    }

    // Update is called once per frame
    void Update()
    {
        healthBar.value = HP;

        if (Input.GetMouseButtonDown(0))
        {
            HP -= 1;
        }
    }
}
右クリックをするたびにHPを「1」減らすスクリプトになっています。
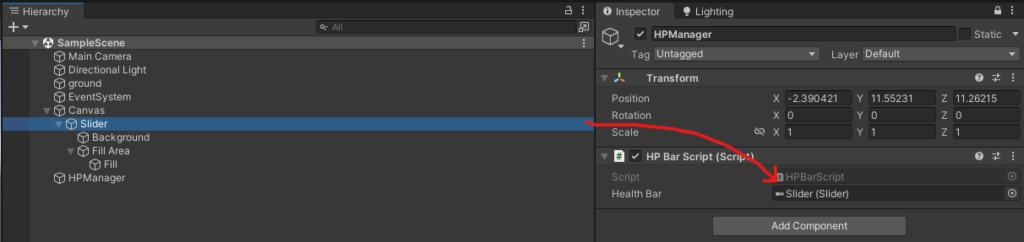
書けたら、アタッチしたいオブジェクトにこのスクリプトをアタッチしましょう。
パブリックでスライダーの変数を宣言したのでインスペクターにあるスクリプトの中にSliderを入れます。
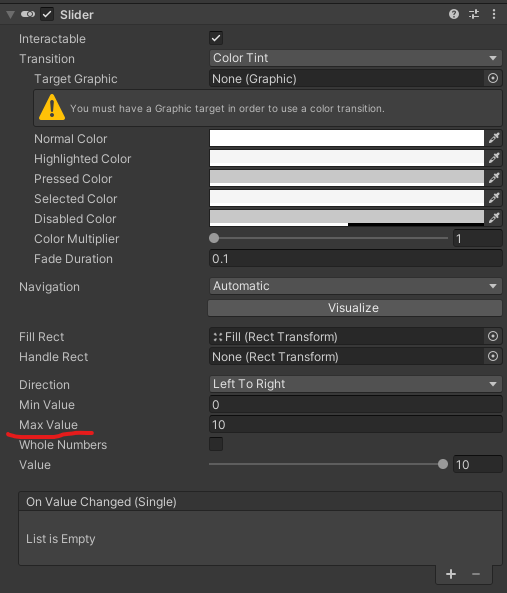
スクリプトでHPを10にしましたので
SliderのSliderコンポーネントにある「Max Value」もそれに合わせます。
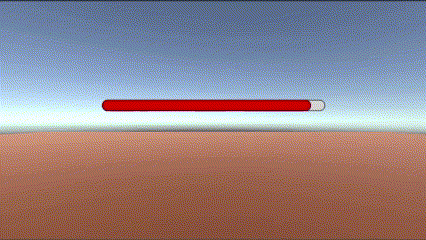
実行
これで実行をしてみると
HPが減るようになりました!
まとめ
いかがでしたでしょうか?
HPバーはゲームでたくさん使うので、作り方は是非覚えておきましょう!

コメント