プレイヤーを向いて攻撃する敵はとてもシンプルに作れます。
今回はそんな敵の作り方を紹介します。
準備
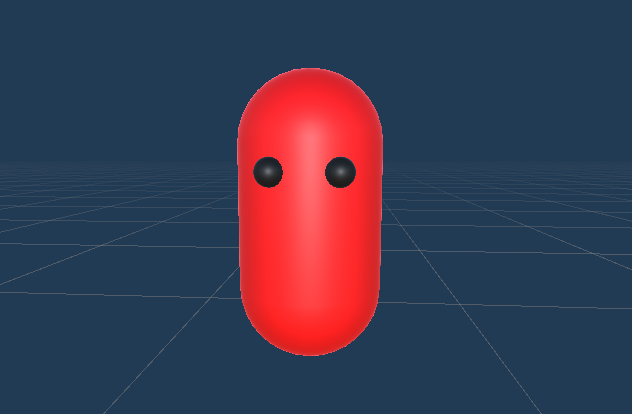
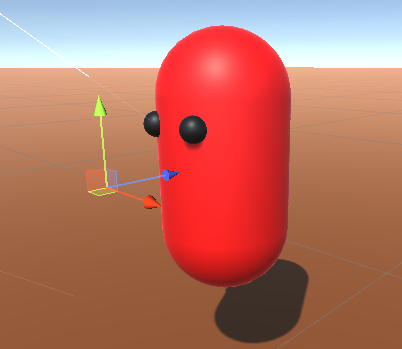
弾を発射する敵を用意しましょう。
僕の敵↓
そして発射する弾も準備しましょう。
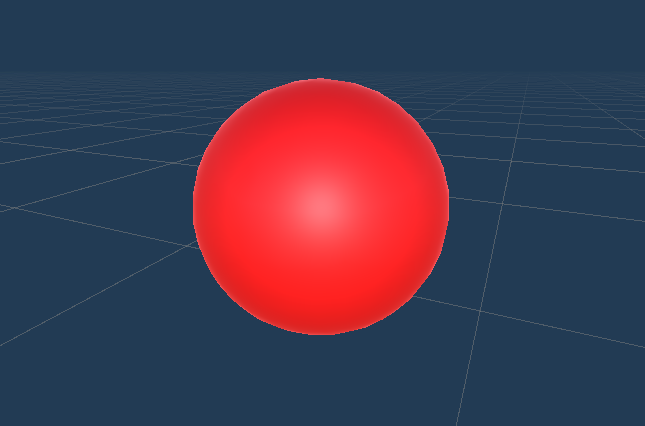
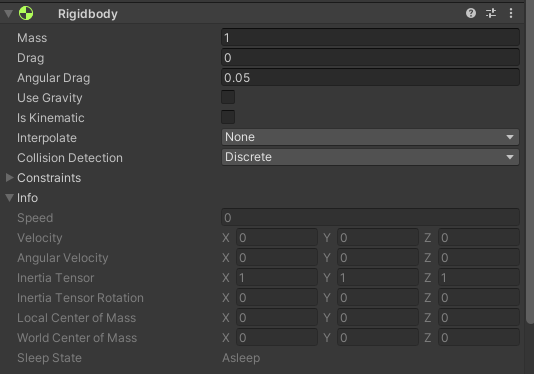
用意した弾にRigidBodyを追加しておきましょう。
次に、弾を発射するときに敵の前に出すようにしたいので、発射地点を追加します。
まずは、空のオブジェクトを作成し、敵の子オブジェクトにします。
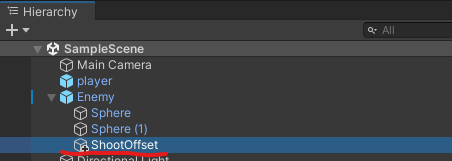
位置は、敵よりも少し前あたりに置きます。
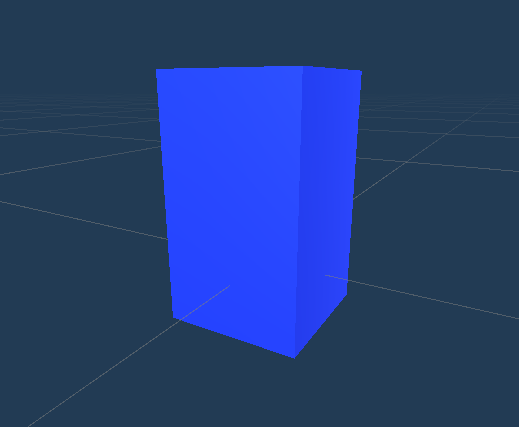
次に、向く対象のプレイヤーを用意します。
はい、おなじみの青い箱ですねw
これで準備は完了です。
敵のスクリプト
using System.Collections;
using System.Collections.Generic;
using UnityEngine;

public class ShootAndLook : MonoBehaviour
{
    [SerializeField] GameObject Ball;
    [SerializeField] GameObject ChildObj;
    [SerializeField] GameObject Target;

    float ShootTimer = 0;
    float speed = 300;


    void Update()
    {
        Look();
        Shoot();
    }

    void Look()
    {
        transform.LookAt(Target.transform);
    }

    void Shoot()
    {
        ShootTimer += Time.deltaTime;

        if (ShootTimer >= 1)
        {
          ShootTimer = 0;
            GameObject ball = Instantiate(Ball, ChildObj.transform.position, Quaternion.identity);
            Rigidbody ballRigidbody = ball.GetComponent<Rigidbody>();
            ballRigidbody.AddForce(transform.forward * speed);
        }
    }
}
このスクリプトを敵オブジェクトにアタッチします。
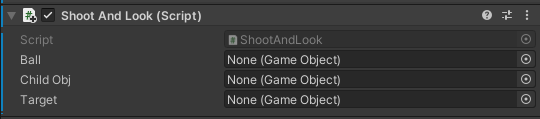
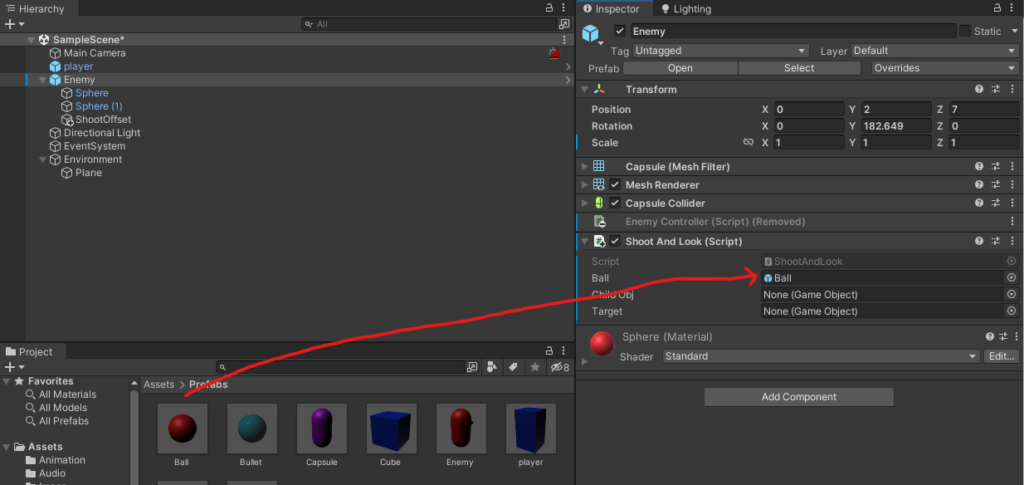
そうしたら、Ball,Child Obj,Targetそれぞれに必要なオブジェクトを入れます。
Ballには、発射させる弾を入れます。
Child Objには弾の発射地点ように作った空のオブジェクトを入れます。
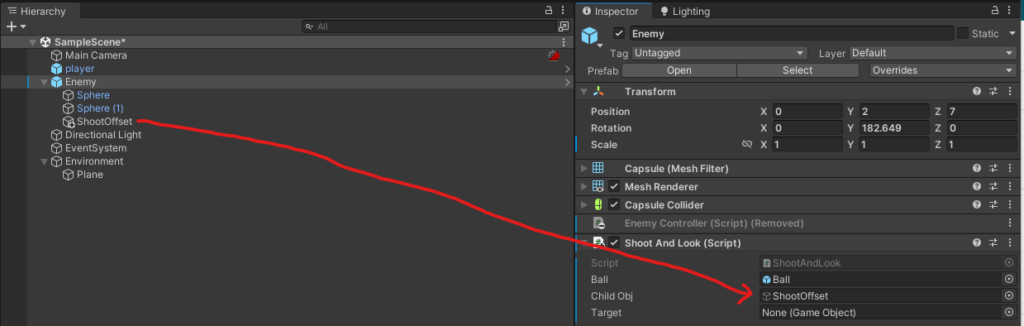
Targetにはプレイヤーを入れます。
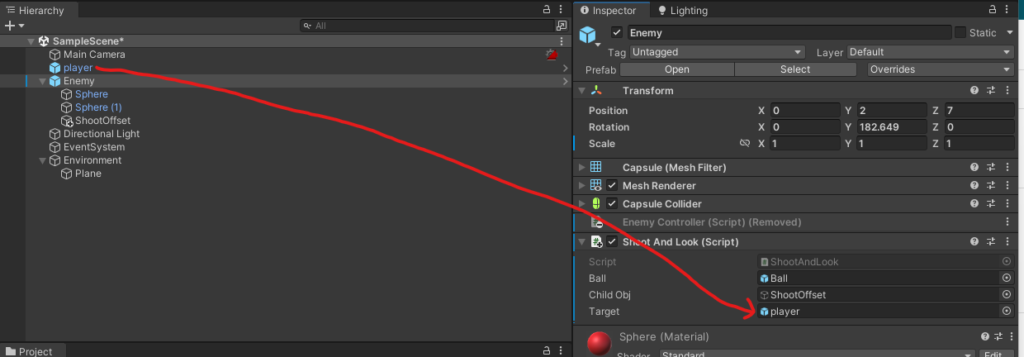
これで、実行をしてみますと
スクリプトの解説
void Look()
    {
        transform.LookAt(Target.transform);
    }
Look関数では、敵の向く方向をTargetに合わせるようにしています。
 void Shoot()
    {
        ShootTimer += Time.deltaTime;

        if (ShootTimer >= 1)
        {
          ShootTimer = 0;
            GameObject ball = Instantiate(Ball, ChildObj.transform.position, Quaternion.identity);
            Rigidbody ballRigidbody = ball.GetComponent<Rigidbody>();
            ballRigidbody.AddForce(transform.forward * speed);
        }
    }
Shoot関数では、一秒経過したら弾を発射させるプログラムになっています。
Instantiateで弾をChildObjの位置から生成させるようにし、ball変数に格納します。
ballでRigidbodyを取得し、AddForceで前に力を加えるようになっています。
まとめ
これで、敵が動くようになったら面白そうですね。
参考にしたサイト↓
【Unity C#】プレーヤーの向いている方向に発射する
プレーヤーの向いている方向に発射するには、どのような仕組みを作ればいいでしょうか?今回はプレーヤーの向きからミサイル発射する方法を見ていきましょう。左右キーで回転し、スペースキーを押すと、自分が向いている方向へ撃つことができます。
futabazemi.net

コメント