
前回の記事で、3Dテキストを作成しました。
今回はそれを使ってテキストの切り替えの仕方を解説します。
前回の記事はこちら↓

切り替えるためのスクリプト
このスクリプトを書きます。
using System.Collections;
using System.Collections.Generic;
using UnityEngine;
using UnityEngine.UI;

public class TextChange : MonoBehaviour
{
	public TextMesh text;
	int TextCounter = 0;

	// Use this for initialization
	void Start()
	{

	}

	// Update is called once per frame
	void Update()
	{

		if(Input.GetMouseButtonDown(0))
		{
			TextCounter++;
		}

		if (TextCounter == 0)
		{
			text.text = "テキストの内容";
		}
		else if (TextCounter == 1)
		{
			text.text = "テキストの内容";
		}
		else if (TextCounter == 2)
		{
			text.text = "テキストの内容";
		}
	}

}
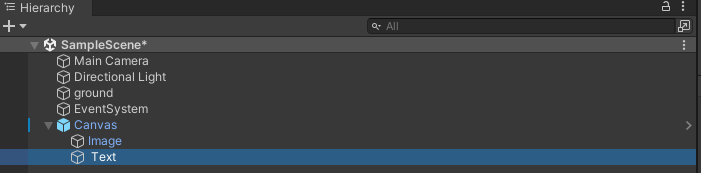
書けたらこのスクリプトをCanvasにアタッチしましょう。
スクリプトの説明
マウスのボタンを押したら「TextCounter」という変数に値を1ずつ増やします。
if文を使い「TextCounter」の値と設定した値が一緒なら、書かれている内容をテキストにして表示をします。
とってもシンプルですね。
内容を増やしたいときはif文を増やせばいいだけです。
エディターでの準備
スクリプトをアタッチしたらパブリックでtextを宣言したので、そこにCanvas内にあるテキストを入れましょう。

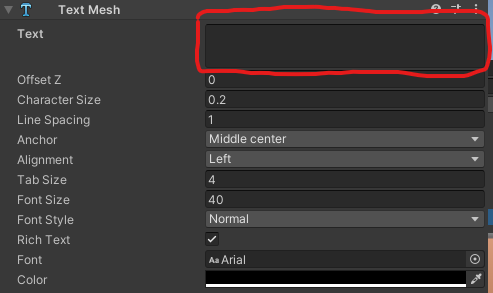
textの中身は空にしておきましょう。
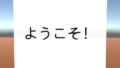
これで実行をしますと。
ボタンを押したら、テキストが切り替わるようになりました!
まとめ
どうでしたか?
意外と簡単ですよね?
これで、会話文や案内文が作れようになります!

コメント