シーンがいきなり変わるのはなんだか違和感がありますよね。
今回は、2Dでも3Dでも使えるシーン間での切り替えでトランジションを作る方法を紹介していきます。
フェード用の素材とアニメーションを作る
素材を作る
ヒエラルキーで左クリック>UI>Imageをします。
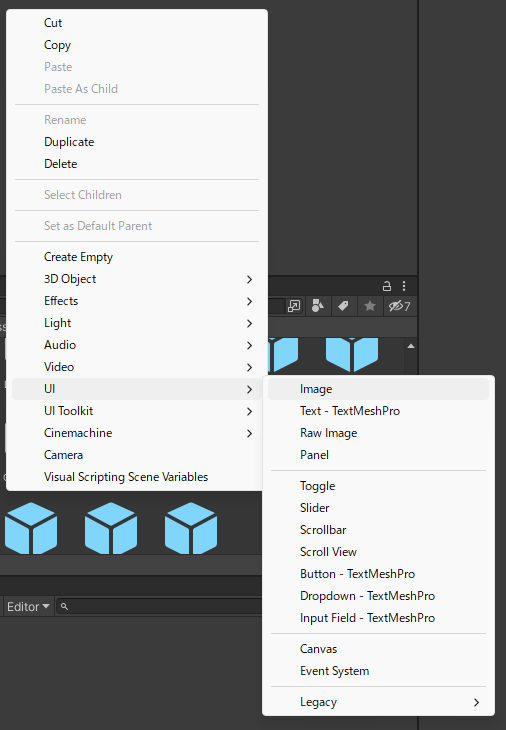
これでCanvasとImageが生成されます。
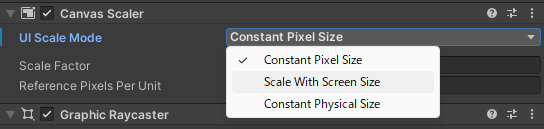
Imageを画面サイズに適応させたいので、「Canvas Scaler」の「UI Scale Mode」を「Scale With Screen Size」に変更しておきましょう。
次に、ImageをCanvas全体に広げましょう。
Imageの「Rect Transform」の十字の画像をクリックしてプリセットを表示。
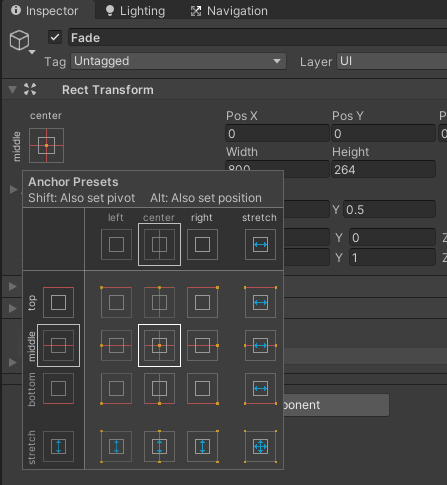
クリックをしたら「ALT」ボタンを押してプリセットを切り替えます。
そうしたら、右下のをクリックしImageを拡大します。
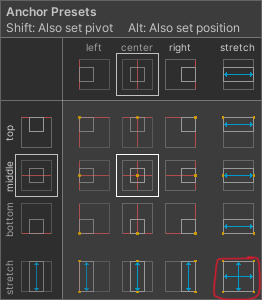
これで画面全体にImageが広がりました!
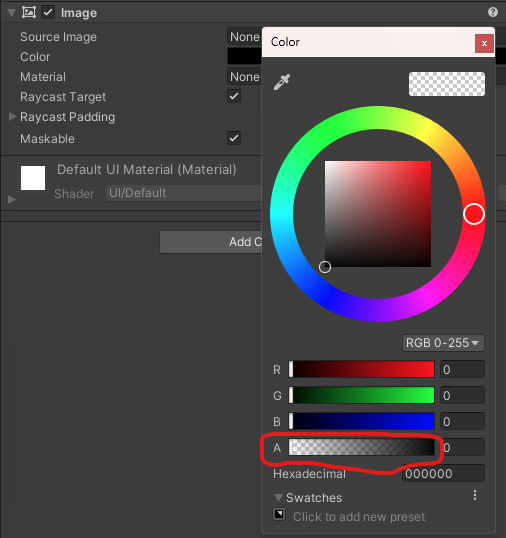
あとは、Imageの色を黒色にしたら素材が出来上がりました!
フェードインとフェードアウトのアニメーション
次にアニメーションを作っていきましょう。
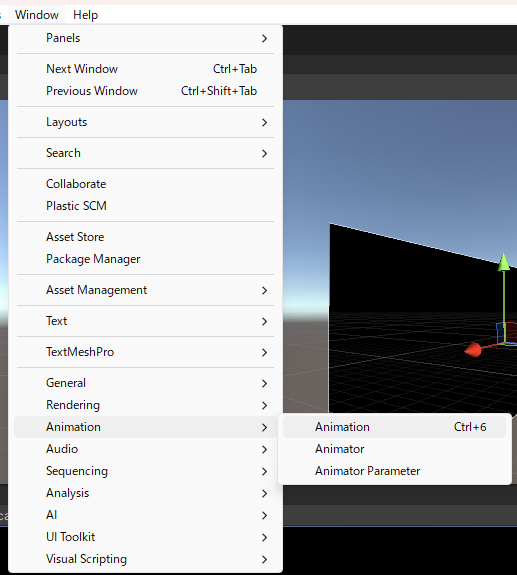
Canvasを選択した状態でWindow>Animation>Animationをします。
保存名は適当でOK
それでは、アニメーションを作っていきましょう。
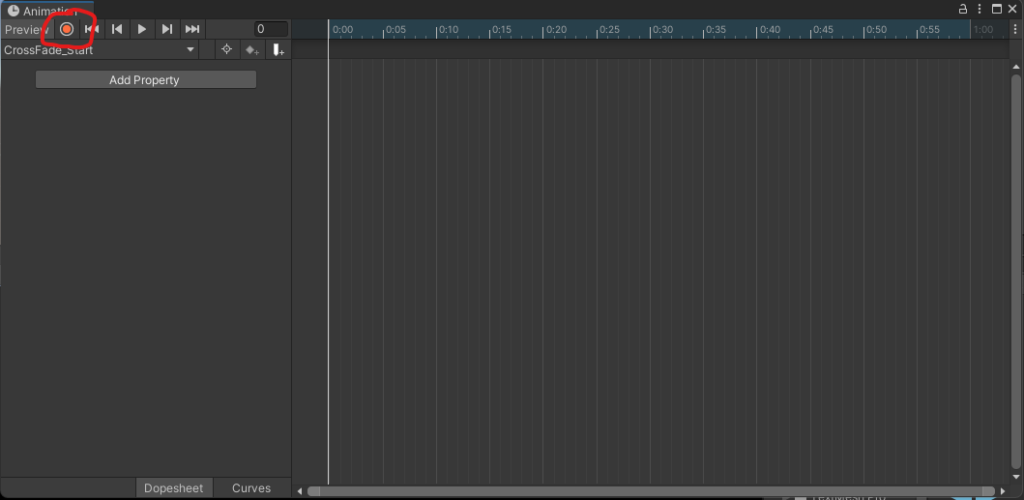
Animatorウィンドウが出ていますね。
そこのレコードボタンを押します。
押したら、白い線を1:00のところまで持っていきます。
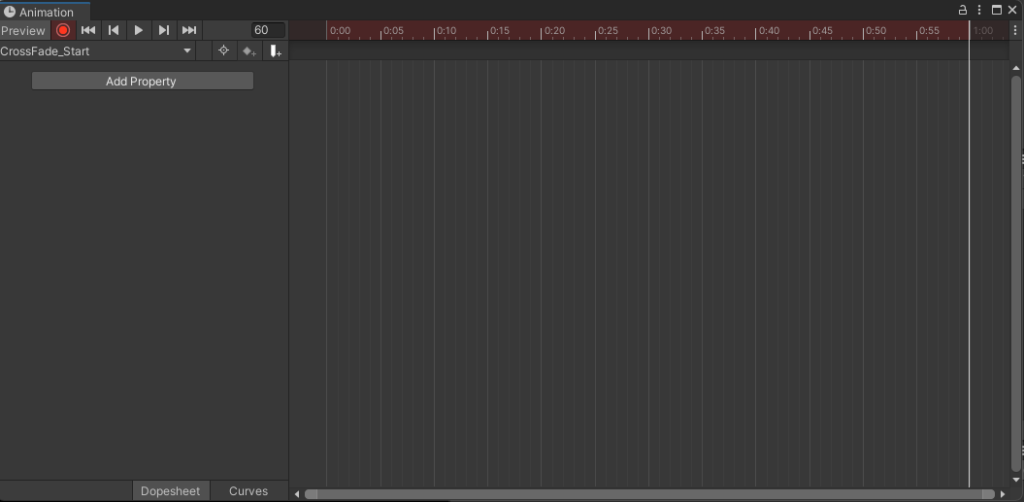
そうしたら、ImageのColorでA(アルファ値)を「0」にしましょう。
レコードボタンを押して録画を止めたら
アニメーションを再生してみましょう。
フェードアウトの完成です!
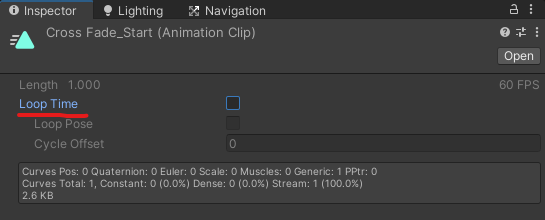
ループ再生してしまうのでLoopTimeのチェックを外しておきましょう。
という感じでフェードインの方も作っておきましょう。
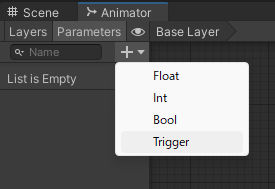
次にAnimatorControllerでトランジションを作ります。
トリガー型のパラメーターを作りましょう。

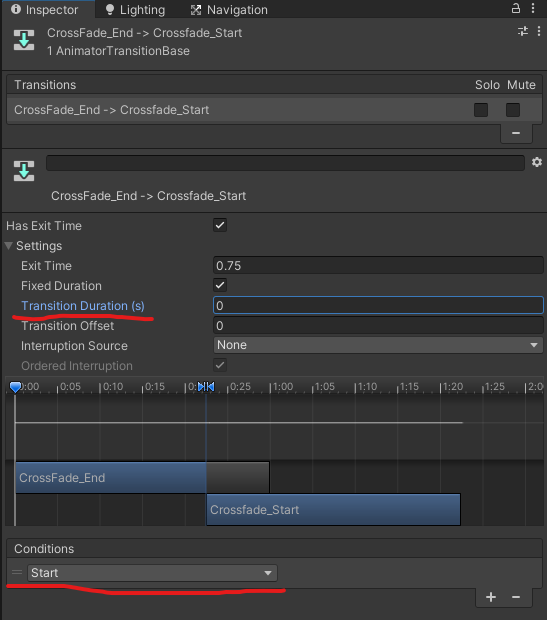
フェードアウトとフェードイン間でトランジションを作ります。
矢印をクリックして、インスペクターを開いたら「Transition Duration(s)」を「0」にし、下の「Conditions」の「+」ボタンを押して「Start」を追加します。
これでアニメーションの設定は完了です。
プログラムでトランジションを再生させる
ソースコード
using System.Collections;
using System.Collections.Generic;
using UnityEngine;
using UnityEngine.SceneManagement;

public class SceneLoader : MonoBehaviour
{

    public Animator transition;

    float TransitionTime = 1.0f;

    private void Update()
    {
        if (Input.GetMouseButtonDown(0))
        {
            loadScene();
        }
    }

    public void loadScene()
    {
       StartCoroutine(LoadLevel());
    }

    IEnumerator LoadLevel()
    {
        int currentScene = SceneManager.GetActiveScene().buildIndex;
        int NextScene = currentScene + 1;

        if (NextScene == SceneManager.sceneCountInBuildSettings) { }
        else
        {
            transition.SetTrigger("Start");

            yield return new WaitForSeconds(TransitionTime);

            SceneManager.LoadScene(NextScene);
        }
    }
}
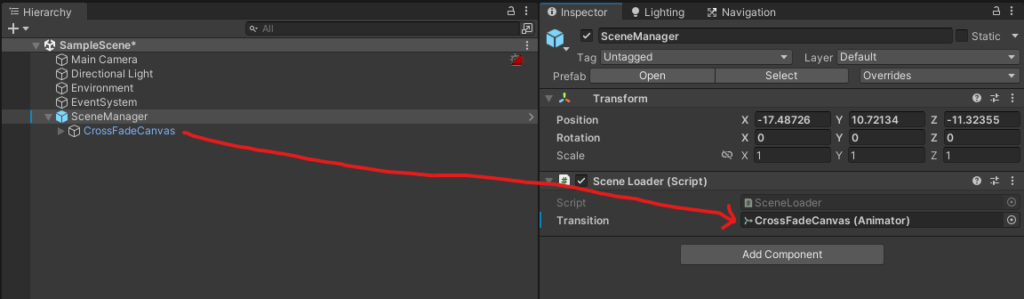
このソースコードをシーン切り替えを管理する空のオブジェクトにアタッチします。
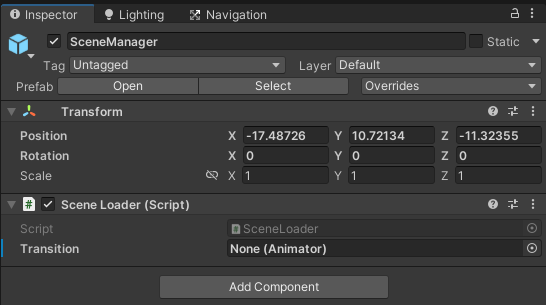
Transitionの項目の中にAnimatorが入っているCanvasを入れます。
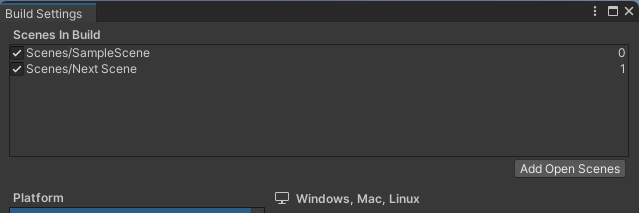
シーンの登録も忘れずに!
これでクリックをするとトランジションが再生されます。

これで完成です!
まとめ
どうでしたか?
フェード以外にも横から画像をスライドさせたり、おしゃれなトランジションを作ることができます。
是非皆さんも作ってみてください!
他にも読んでおきたい記事↓


コメント