
スキルを使用した時のスキルゲージやダメージを食らったり回復したりした時に増減するHPゲージ。
これらのゲージバーを一工夫するとゲームの見栄えはよくなると思います。
今回は、そんなゲージバーの増減をスームーズにさせる方法を紹介していきたいと思います。
ゲージバーを用意
まずはゲージバーを作っていきましょう。
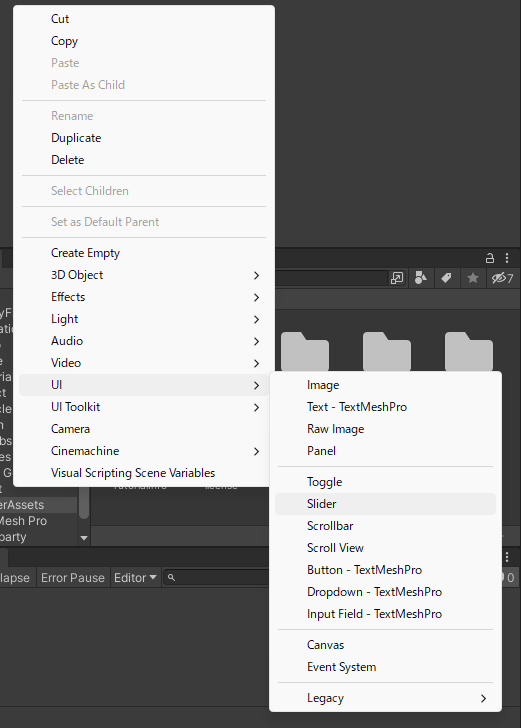
ヒエラルキーウィンドウで右クリック>UI>Sliderでスライダーを生成します。
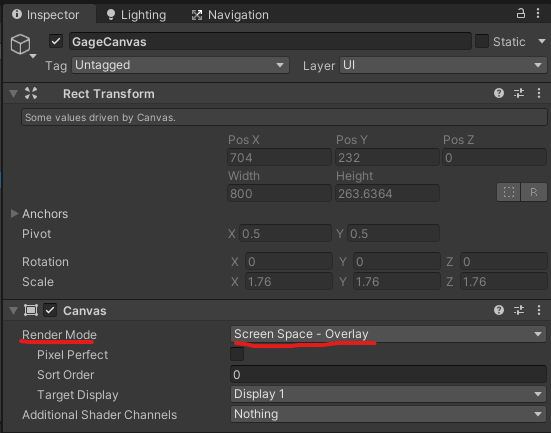
次にスクリーンサイズに合わせるためにCanvasで「Render Mode」を「Screen Space-Overlay」にします。
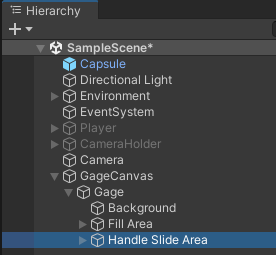
スライダーにある「Handle Slide Area」はいらないので消しておきましょう。
ここで「Slider」の中の「Value」を動かしてみましょう。
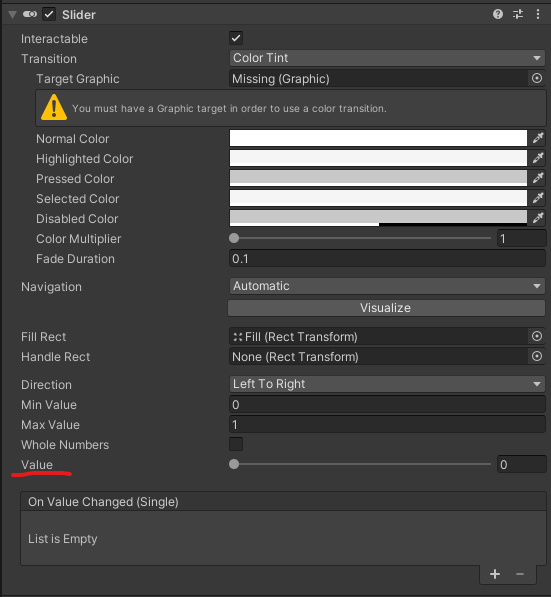
「Value」を最大値にしても空白ができてしまい、最小値にしてもゲージが残っています。
これらを直していきましょう。
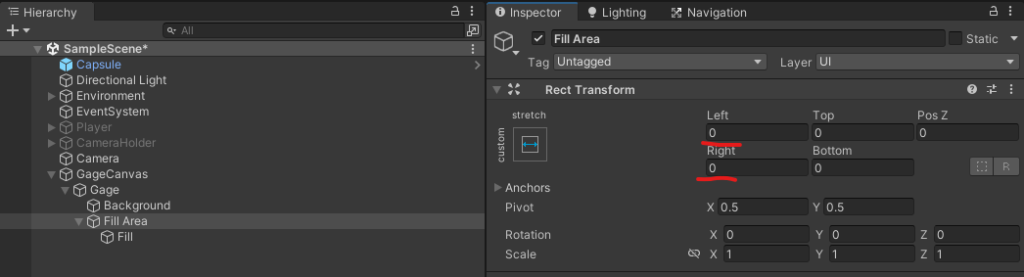
Fill Areaのインスペクターにある「Rect Transform」の「Left」と「Right」を共に「0」にします。
次にFillのインスペクターの「Rect Transform」の「Width」の値も「0」にしましょう。
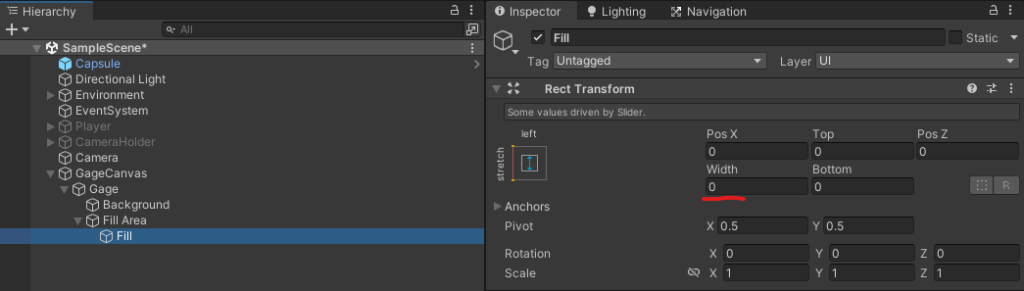
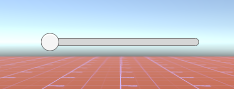
これでまた「Value」を動かしてみますと。
これでゲージバーは用意ができました。
ゲージバーのプログラム
それではプログラムコードを書いていきましょう。
using System.Collections;
using System.Collections.Generic;
using UnityEngine;
using UnityEngine.UI;

public class SmoothSlider : MonoBehaviour
{

    [SerializeField] Slider DashGage;

    public float maxDashPoint = 5;

    float dashPoint;
    float currentVelocity = 0;

    void Start()
    {
        dashPoint = maxDashPoint;
        DashGage.maxValue = maxDashPoint;
        DashGage.value = maxDashPoint;
    }


    void Update()
    {
        float currentDashPT = Mathf.SmoothDamp(DashGage.value, dashPoint, ref currentVelocity, 10 * Time.deltaTime);
        DashGage.value = currentDashPT;

        if (Input.GetKeyDown(KeyCode.E) && dashPoint < maxDashPoint)
        {
            dashPoint++;
        }

        else if (Input.GetKeyDown(KeyCode.Q) && dashPoint > 0)
        {
            dashPoint--;
        }

    }
}
これで「E」でゲージが増えて「Q」でゲージが減ります。
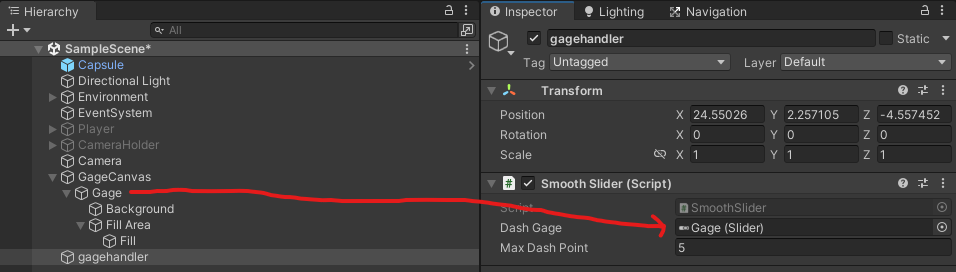
このスクリプトを適当なオブジェクトにアタッチします。
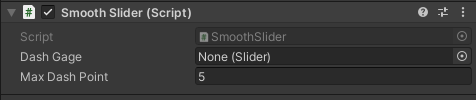
「Dash Gage」の中に「Gage」を入れます。
これで実行をしてみますと。
完成です!
プログラムの重要ポイント
今回のプログラムで重要な部分は、ここ
float currentDashPT = Mathf.SmoothDamp(DashGage.value, dashPoint, ref currentVelocity, 10 * Time.deltaTime);
DashGage.value = currentDashPT;Mathf.SmoothDamp(現在値, 目標値,現在速度を格納する変数, 目標値までの変化時間);
というような引数を入れて、それらを計算したものをゲージの「Value」に反映しています。
まとめ
いかがだったでしょうか?
滑らかなゲージを是非活用してみてください!
コメント