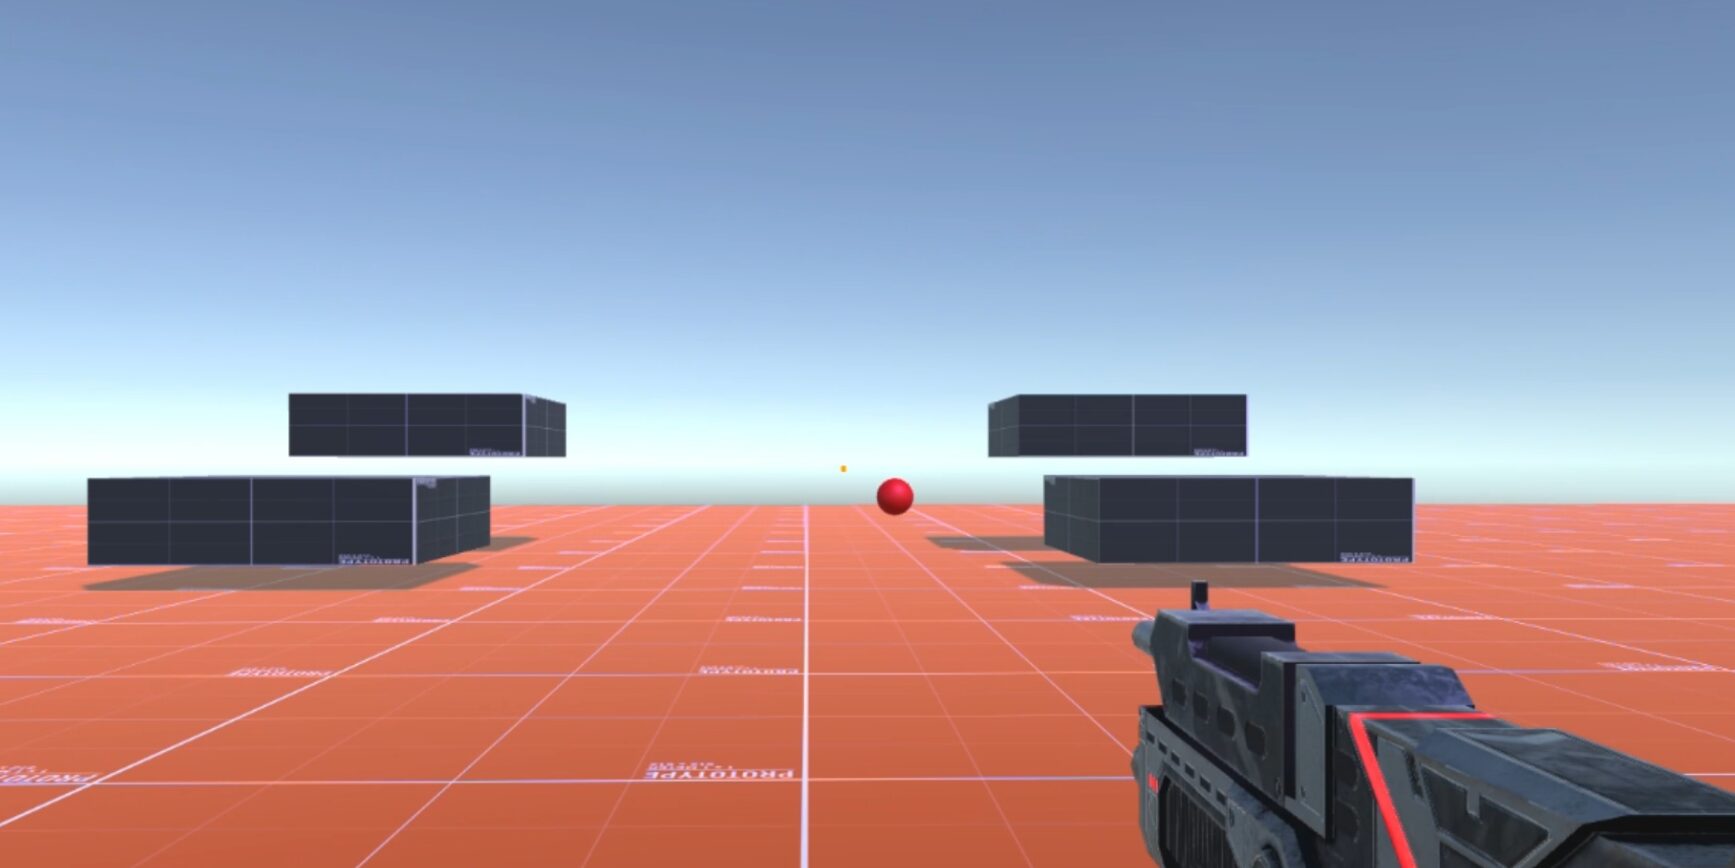
今回は弾を撃つ銃の作り方を紹介していきたいと思います。
準備
まずは、銃を用意します。
今回はアセットストアから持ってきたものを使おうと思います。
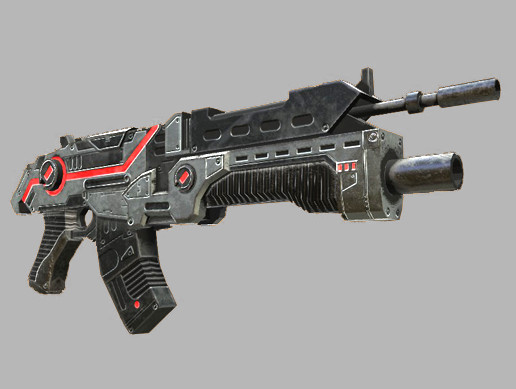
Sci-Fi Gun Light | 3D Guns | Unity Asset Store
Elevate your workflow with the Sci-Fi Gun Light asset from HYPERION studio. Find this & other Guns options on the Unity ...
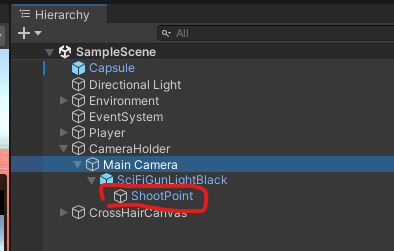
この武器は「MainCamera」の子オブジェクトにしときます。

次に発射時に弾が出る位置となる空のオブジェクトを作り、銃の子オブジェクトとします。
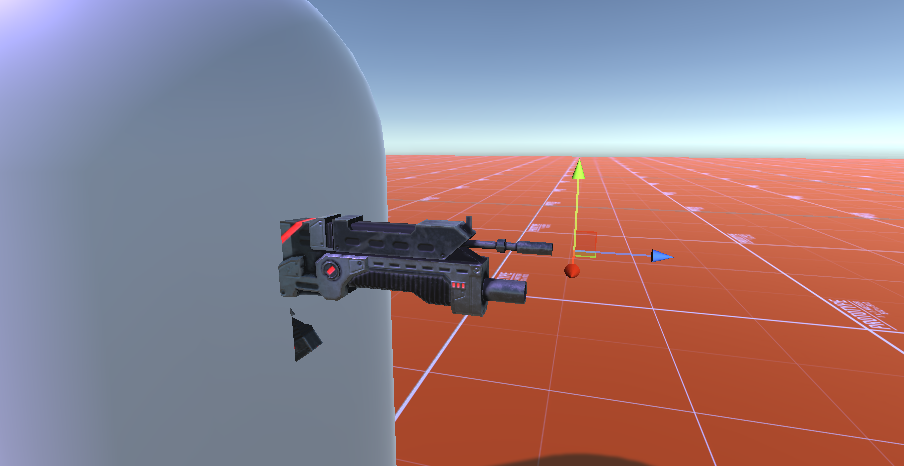
そして銃がいい感じに見えるところに位置を調節して準備完了です。
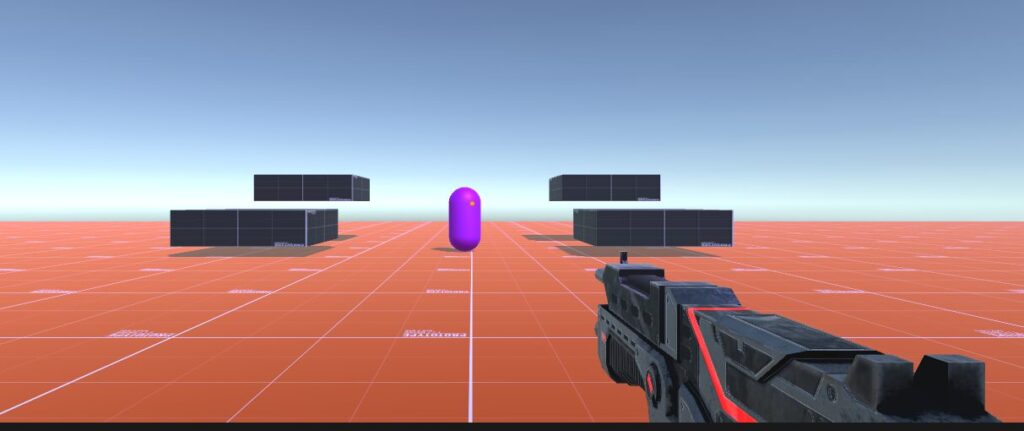
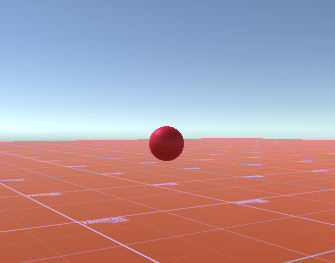
次に発射する弾を用意し、プレハブ化させます。
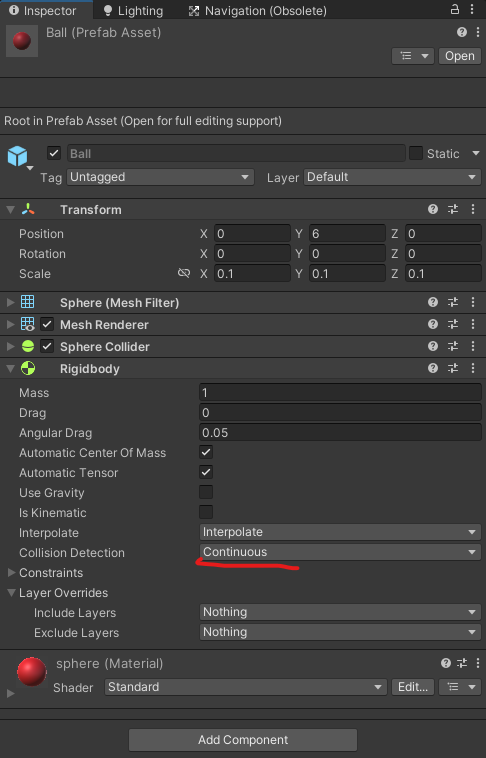
そして弾に「RigidBody」を追加します。
弾の当たり判定をより正確にするためにCollision Detectionという項目を「Continuous」にしときます。
これで準備は完了です。
スクリプト
それでは弾を発射するスクリプトを書いていきましょう。
using System.Collections;
using System.Collections.Generic;
using UnityEngine;

public class ProjectileGun : MonoBehaviour
{

    [Header("Reference")]
    [SerializeField] Transform shootPoint;
    [SerializeField] GameObject bullet;

    [Header("GunProperty")]
    [SerializeField] float shootForce;              // 発射の威力
    [SerializeField] float timeBetweenShooting;     // 発射レート(連射武器用)
    [SerializeField] float timeBetweenShots;        // 発射レート(ショットガン用)
    [SerializeField] float spread;                  // 散弾具合(ショットガン用)
    [SerializeField] float reloadTime;              // リロード時間
    [SerializeField] int magazineSize;              // マガジンのサイズ
    [SerializeField] int bulletsPerTap;             // 一発当たりの弾の数
    [SerializeField] bool allowButtonHold;          //連射武器か単発武器かのフラグ

    [SerializeField] LayerMask ignoreLayer;         // 無視していいレイヤー

    GameObject playerCam;

    int bulletsShot, bulletsLeft;

    bool shooting, readyToShoot;

    public bool reloading;
    public bool allowInvoke = true;

    void Start()
    {
        playerCam = GameObject.Find("Main Camera");

        bulletsLeft = magazineSize;
        readyToShoot = true;
    }

    void Update()
    {
        InputHandler();
    }

    // 入力制御
    private void InputHandler()
    {
        // 長押しできるかできないかで入力処理を切り替える
        if (allowButtonHold)
            shooting = Input.GetMouseButton(0);
        else
            shooting = Input.GetMouseButtonDown(0);

        // 打てる状態なのかをチェック
        if (readyToShoot && shooting && !reloading && bulletsLeft > 0)
        {
            bulletsShot = 0;

            Shoot();
        }

        // リロードする
        if (Input.GetKeyDown(KeyCode.R) && bulletsLeft < magazineSize && !reloading)
        {
            Reload();
        }

        // 弾がなくなったら自動的にリロード
        if (readyToShoot && shooting && !reloading && bulletsLeft <= 0)
        {
            Reload();
        }
    }

    // 弾を発射
    private void Shoot()
    {
        readyToShoot = false;

        // 画面の中央にレイを飛ばす
        Ray ray = playerCam.GetComponent<Camera>().ViewportPointToRay(new Vector3(0.5f, 0.5f, 0.0f));
        RaycastHit hit;

        Vector3 targetPoint;
        if (Physics.Raycast(ray, out hit, 1000f, ~ignoreLayer))// レイが何かに当たったかをがチェック
            targetPoint = hit.point;
        else
            targetPoint = ray.GetPoint(10);// 何にも当たらなかったらレイの長さを強制決定

        // 銃口から見たターゲットの方向を取得
        Vector3 directionWithoutSpread = targetPoint - shootPoint.position;

        float x = Random.Range(-spread, spread);
        float y = Random.Range(-spread, spread);

        // 散弾する銃の銃口から見たターゲットの方向を取得
        Vector3 directionWithSpread = directionWithoutSpread + new Vector3(x, y, 0);

        // 弾を生成
        GameObject currentBullet = Instantiate(bullet, shootPoint.position, Quaternion.identity);

        // 弾を前方に向かせる
        currentBullet.transform.forward = directionWithSpread.normalized;

        // 弾に力を加える
        currentBullet.GetComponent<Rigidbody>().AddForce(directionWithSpread.normalized * shootForce, ForceMode.Impulse);

        bulletsLeft--;
        bulletsShot++;

        // 弾と弾に間隔を開ける
        if (allowInvoke)
        {
            Invoke("ResetShot", timeBetweenShooting);
            allowInvoke = false;
        }
        // 一度に出す弾
        if (bulletsShot < bulletsPerTap && bulletsLeft > 0)
        {
            Invoke("Shoot", timeBetweenShots);
        }
    }

    // 撃てる状態にする
    private void ResetShot()
    {
        readyToShoot = true;
        allowInvoke = true;
    }

    // リロード処理
    private void Reload()
    {
        reloading = true;
        Invoke(nameof(ReloadFinished), reloadTime);
    }

    // リロード状態を終了
    private void ReloadFinished()
    {
        bulletsLeft = magazineSize;
        reloading = false;
    }
}
このスクリプトで連射武器にもできますし、単発武器にもできます。
このスクリプトを銃にアタッチし、値を入れましょう。
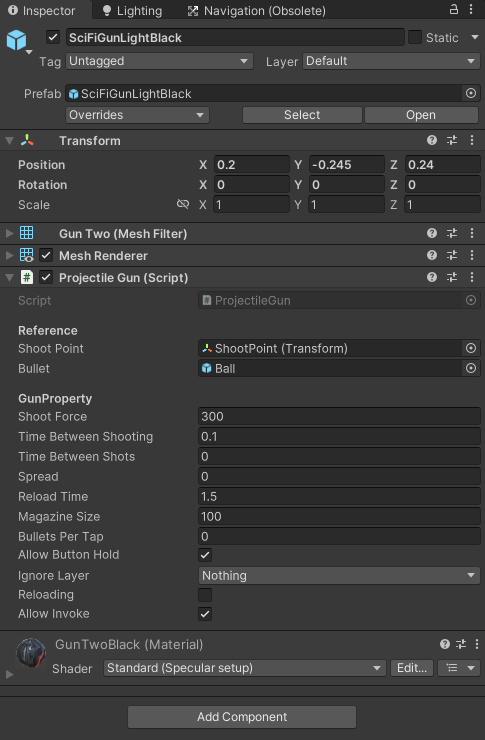
これで実行をしてみると
連射武器ができました!
ちなみに値をこんな風に変えて…
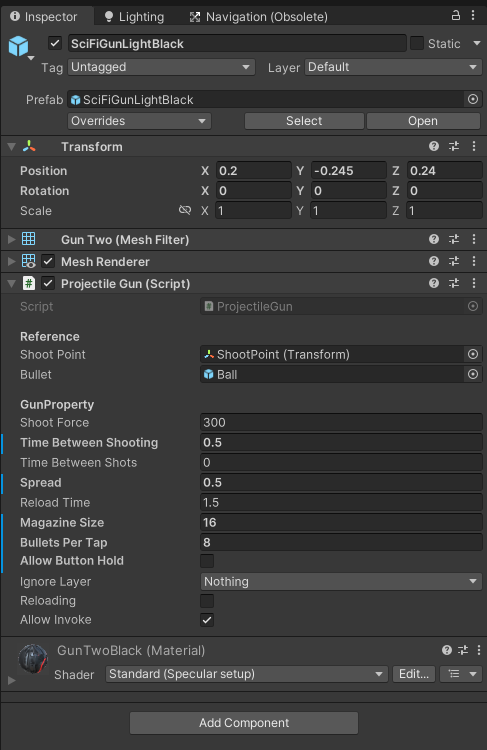
実行してみると
ショットガンも作れちゃいます!
まとめ
いかがだったでしょうか?
連射武器も単発武器も作れちゃう便利なスクリプトになっているので参考になればいいなと思います。
参考にした動画↓
